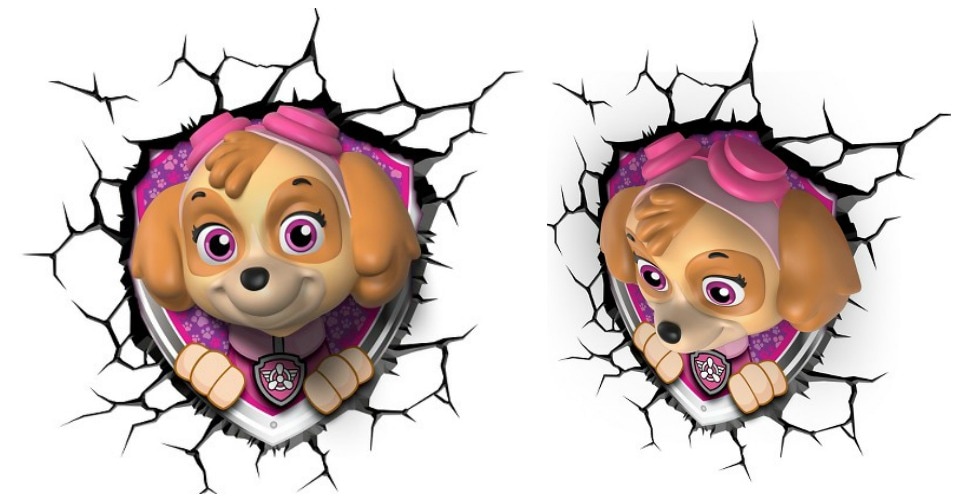
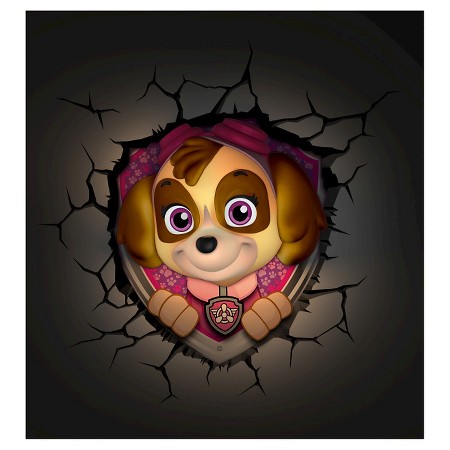
NEW from 3DLightFX
and so many more to choose from
Find all of these amazing products here: http://bit.ly/TargetUSFamily
3DLightFX Review:
I have seen the 3DLIGHTFX 3D Deco Lights online and my daughter seen them, and right away she wanted me to get her a Paw Patrol Sky one then a few days later I had the opportunity to do a review with a wonderful company 3DLightFX.I was so excited to get a review because this is the best thing to use for a non-electric night light in my daughter's autism/sensory room.
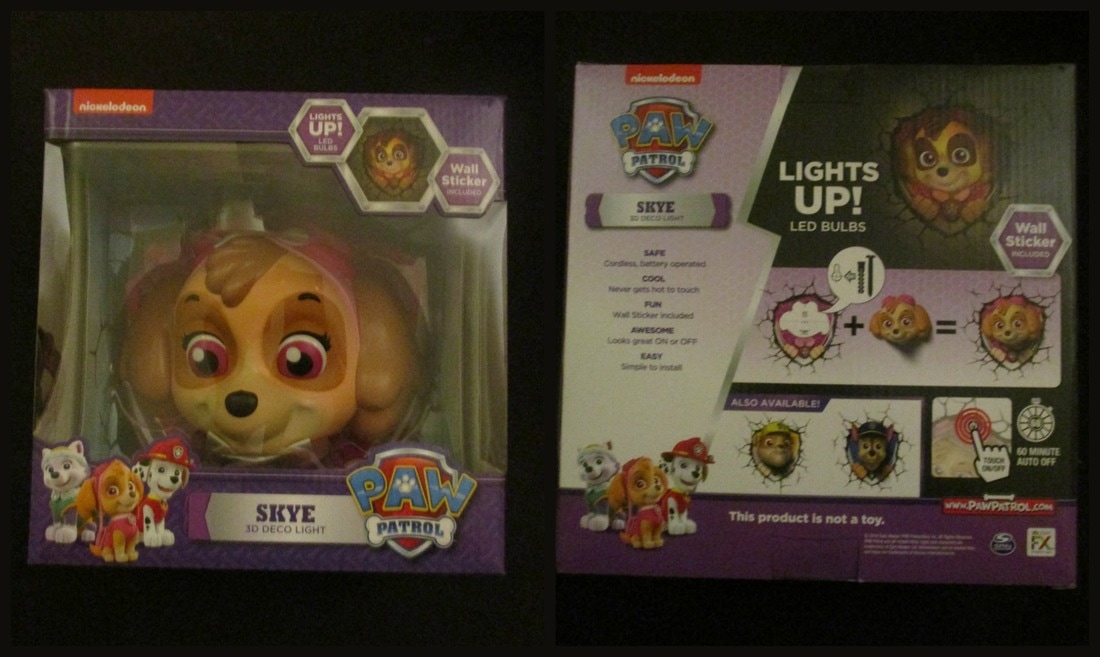
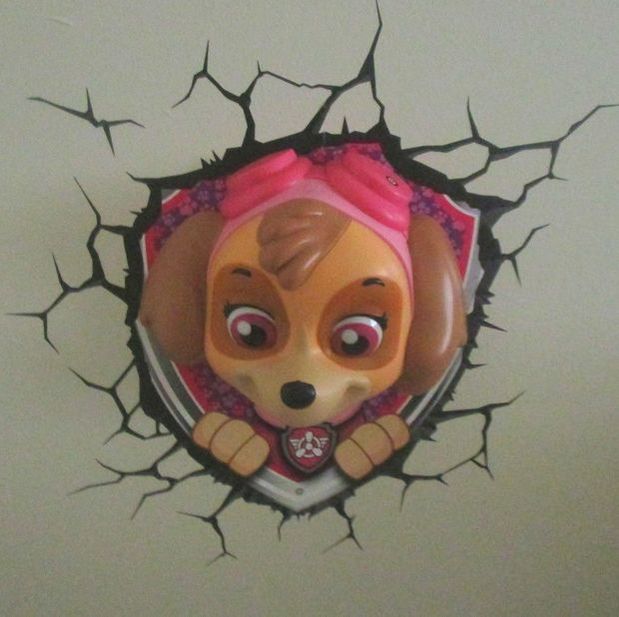
I had a choice of what 3DLIGHTFX 3D Deco Lights that I would like to review. So I picked the 3DLIGHTFX 3D Deco Light Paw Patrol Sky. My daughter was so excited. She was going to get one. The 3DLIGHTFX 3D Deco Light was packaged really nice, and it was super easy to install it on her wall. It comes with everything except batteries, but we got batteries for all her toys for Christmas.
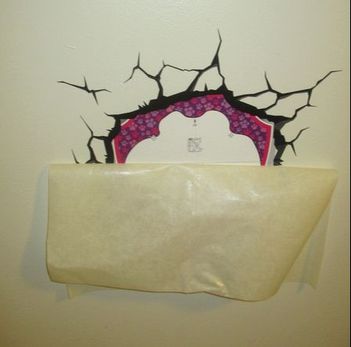
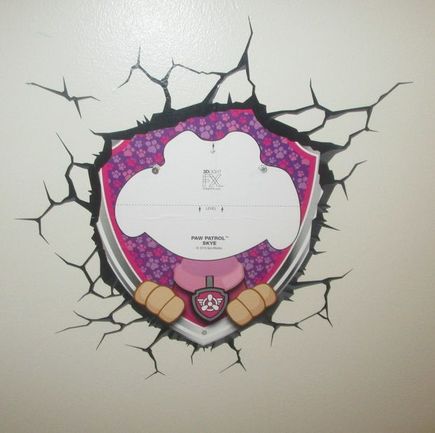
I started by getting a my electric drill and started putting up the wall decal sticker. I have experience with putting wall decals on our walls so it was easy to put up on her wall and it seams like it is very durable.You have to use a credit card or a plastic squeegee. It has not peel off like some other decals I have put up in our home.So that defiantly is a plus for in a child's room so they will not peel the image off.
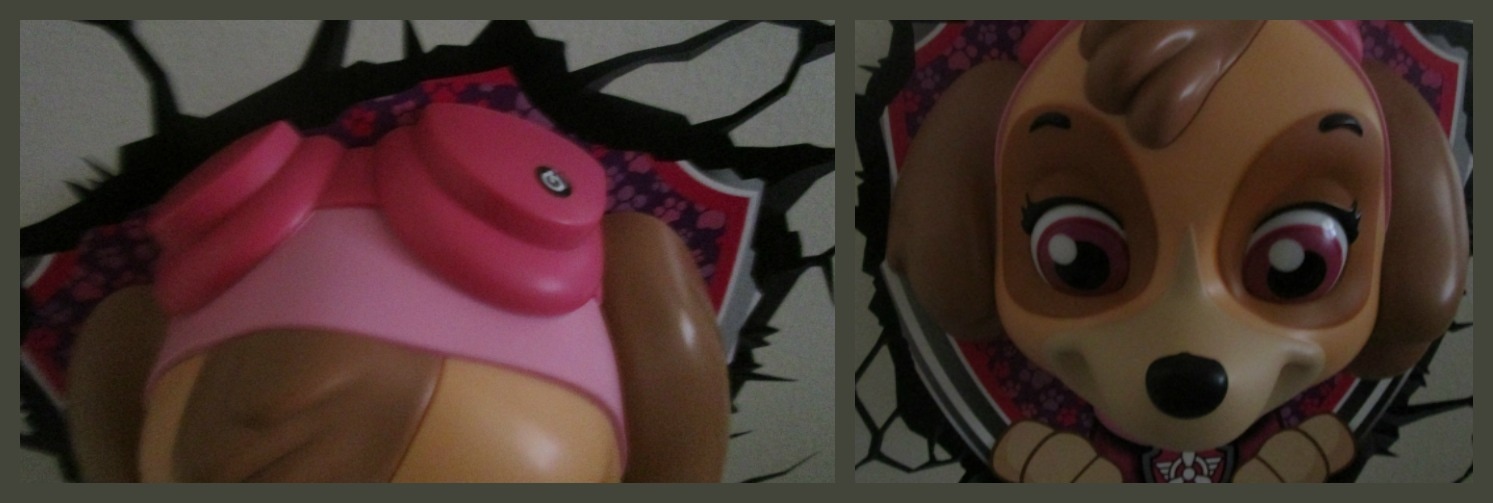
Installing the light was very easy also.I put all our wall decals up myself and this decal was up in just a few minutes.All I had to do was use my drill and put the screws into the wall and then hang the light up on top of the decal. It is easy to use with a simple on and off switch on Sky's Right Goggle(they have a sticker on it so you know where to turn it on at)
We Give 3DLIGHTFX 3D Deco Light Paw Patrol Sky
Below shows DLIGHTFX 3D Deco Light Paw Patrol Sky and what the packaging looks like,the wall decal install and more.
Paw Patrol:
Skye
How to install your 3D Crack Sticker
2. Place sticker at desired location, place tape (painter’s tape or similar) at the edge of the top of the sticker and mark arrows on tape and sticker for placement reference.
3. Carefully remove the back of the sticker.
4. Align arrows and carefully stick the top (top 1-2 inches) of the sticker to wall, make sure you hold the bottom portion away from wall.
5. Use a credit card or dull flat surface to slowly adhere the sticker, pressing against the paper backing, removing any air bubbles that may arise, remember to keep the bottom part of the sticker off the wall as you work your way down, out and towards the edges until the end.
6. Very slowly peel off the paper from the wall, making sure that the (fine edges) are stuck to wall. If any of the sticker peels up with the paper, simply put back against wall and press firmly with credit card until sticker adheres to wall.
7. Drill a hole in the spaces marked X and inset the wall plug, provided. Insert the screws provided to approximately ¾ of the way and place light onto screws.
8. Enjoy!
Important Safety Instructions
WARNING!
The 3D Deco Lights are NOT toys.
DO NOT mount 3D Deco Lights in reach of children.
Important Safety Instructions
• Do not use in or near water.
• Mount only on a surface that is mechanically sound.
• Do not mount near gas or electric heaters, fireplaces, candles, or other sources of heat.
Important Safety Instructions when using Batteries with this product.
• Use AA or AAA batteries only.
• Turn Light off during the day to conserve battery life.
• Dispose of batteries safely.
